

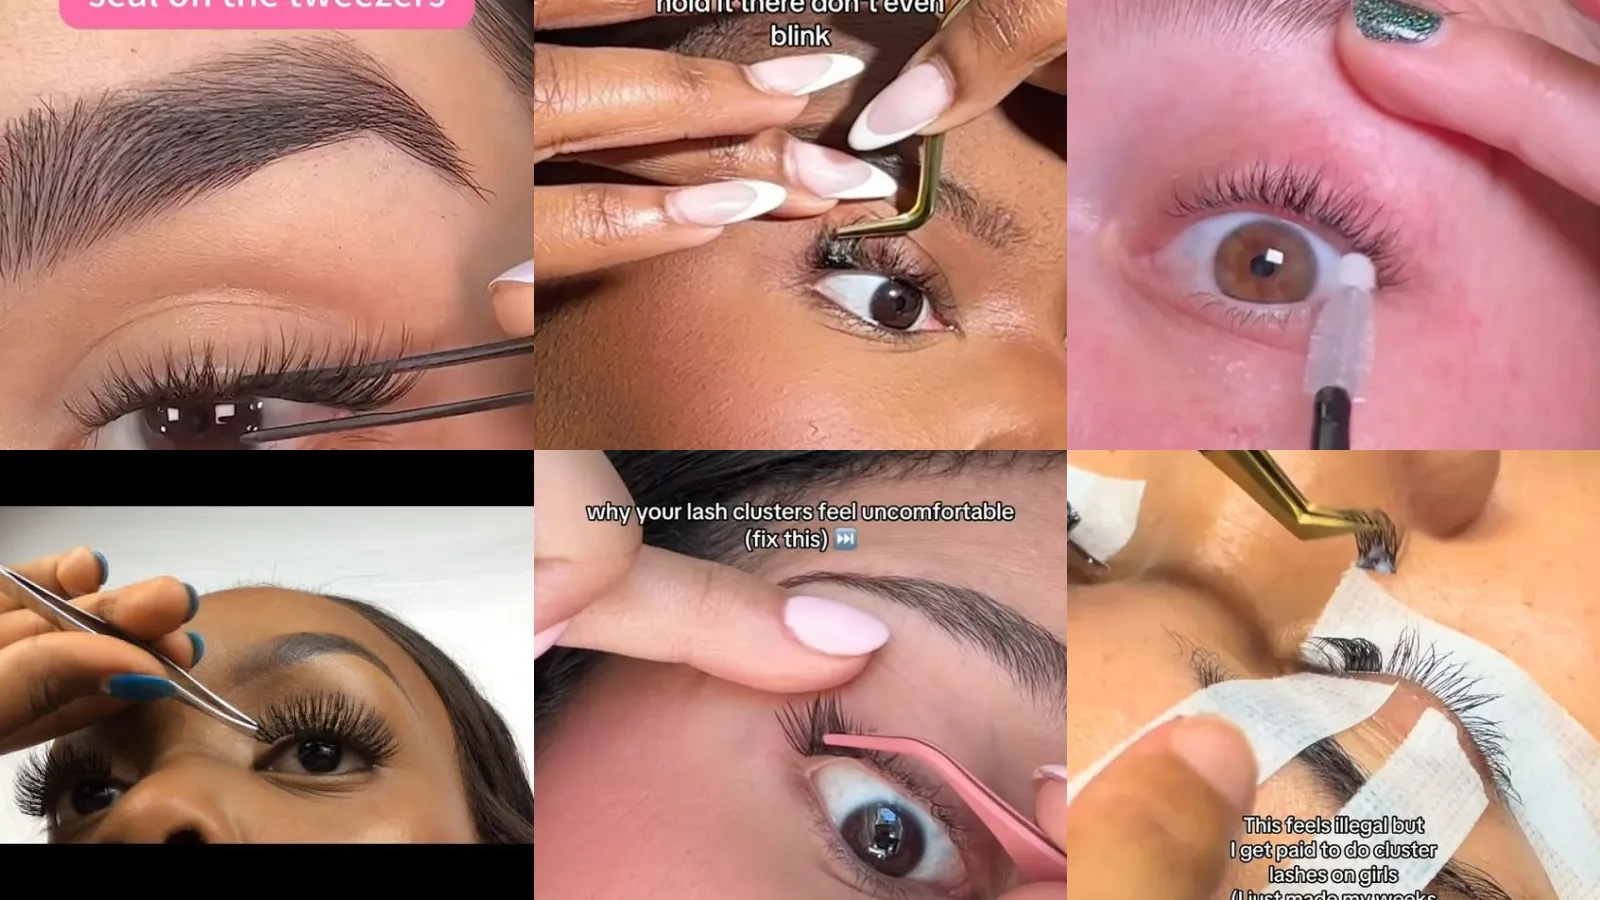
Skip the intro · jump to the list ↓
Spooky season and holiday parties always bring out the false lash clusters. This is usually where things go sideways. People rush the glue, skip the tacky stage, or press clusters on backward! Then wonder why nothing stays put by nine o’clock.
This list is a full walkthrough of the little things nobody explains clearly enough. No fluffy theory, just the actual steps that make clusters sit flat and stay flat.
Every tip below got picked because it’s doable with drugstore supplies and a steady kitchen table. Nothing fancy, nothing that needs a cosmetology license, lol!
Some points cover the basics like glue and placement. Others get into troubleshooting, because let’s be honest, something always goes a little wrong the first few tries, am I right?
Work through these in order if you’re brand new, or skip around if you just need to fix one specific problem. Either way works!
By the end you’ll have a real system instead of just guessing every single time you open the glue bottle. How great does that sound?
LASH CLUSTER APPLICATION TIPS
Clean Lash Line First Step
Clean skin makes every step after this one easier. Oil and leftover mascara keep glue from grabbing properly. Clusters slide right off within the hour.
A quick swipe with a cotton pad and micellar water handles it. Let the lid dry completely before touching a single cluster to it. A blow dryer on cool setting speeds this up in a pinch.
- The step nobody skips twice
- Dry lids grip glue better
- Takes under a minute
Measure Cluster Before Placing
Hold the cluster up against your lash line before any glue touches it. Most clusters are wider than the eye. Trimming after gluing is a mess nobody needs, lol!
Trim from the outer edge in small snips. It’s way easier to take off a little more than to try gluing on a piece that’s too long.
- Measure twice, glue once
- Saves the whole cluster
- Two seconds, zero regret
Dip Cluster Into Glue
Dip just the band into the glue, not the fibers. A shallow dip is plenty since too much glue turns the whole thing clumpy and slow to dry.
The band should look coated but not dripping. If glue is pooling at the base, wipe a little off on the back of your hand first. A dry lash brush works too if one is handy.
- Less glue works better
- A thin coat holds fine
- No dripping means no mess
Wait For Glue To Tack
This is the step everyone rushes! It’s the one that matters most. Wet glue slides around and never sets in the right spot.
Wait ten to fifteen seconds until the glue turns slightly tacky and matte. It should feel like a light spiderweb texture, not wet and not fully dry either.
- Patience pays off here
- Fifteen seconds changes everything
- Tacky not wet is the goal
Angle Cluster Along Lash Line
Clusters go on best when they follow the natural curve of your lash line instead of sitting straight up. Angle it slightly outward toward your temple.
This one small adjustment makes a huge difference in how natural the finished look reads. Who doesn’t love that?
Press Cluster Onto Natural Lashes
Press the cluster down onto your natural lashes rather than onto the skin. It should rest right at the base where your own lashes start.
Hold it there for a few seconds so the glue can grab. Letting go too soon is basically the number one reason clusters pop off later, haha!
- Hold it, don’t rush it
- A few seconds locks it in
- Skips the afternoon fallout
Start From Outer Corner
Starting at the outer corner gives the whole look its shape early. This is also the area that hides small mistakes the best. It’s forgiving for practice.
Work your way inward from here one cluster at a time. Small, steady moves keep the line even.
Work Inner Corner Last
The inner corner is the trickiest spot on the whole eye. Save it for last when your hand has warmed up a little. Smaller clusters work better here anyway.
Rushed inner corners are the main reason lashes look uneven from across the room.
Blend Cluster Lengths Naturally
Mixing cluster lengths across the lash line looks way more natural than one uniform row. Shorter pieces near the inner corner, longer ones toward the outer edge.
This blending trick is basically the difference between store-bought strip lashes and a custom look. Not that anyone can tell the difference once mascara goes on, lol!
Check Symmetry Between Eyes
Step back and compare both eyes in a mirror before calling it done. Small gaps or uneven spacing are way easier to fix now than after everything sets.
Are you guys checking both sides every time, or just assuming they match? Guilty of skipping this one myself sometimes, haha!
Seal Lash Band With Liner
A thin coat of liquid liner along the base seals the band and hides any visible glue or gaps. It also adds a little extra grip for longer wear.
Let the liner dry fully before doing anything else to that eye. A matte formula tends to hold up better than a shiny one.
- The liner trick that seals everything
- Hides the band completely
- Extra hold that actually lasts
Curl Lashes Before Applying
Curling your natural lashes before applying clusters helps everything blend together instead of looking like two separate layers. It also opens up the eye first.
Skip this step and clusters tend to sit flat against straight lashes, which reads a little stiff.
Remove Clusters Without Damage
Never yank clusters off dry, no matter how tempting it is at midnight! Warm water or an oil-based remover breaks down the glue without tugging. Give it a minute to soak before you touch it.
The cluster should slide off on its own once the glue softens. This one habit alone saves your natural lashes from thinning out.
- Removal without the regret
- Warm water does the work
- Natural lashes stay intact
Practice On Fake Eye First
A fake practice eye from the beauty supply store is worth every dollar for a beginner. Messing up on plastic feels a lot better than messing up ten minutes before leaving the house, lol!
It also lets you get comfortable with tweezers before real lashes are involved at all.
- Practice where mistakes don’t matter
- Beauty supply find under ten dollars
- Zero pressure while you learn
Use Mirror Angle Correctly
Looking straight into a flat mirror distorts your view of the lash line more than people expect. Tilt your chin down slightly. Look downward into the mirror instead.
This angle shows exactly where the clusters need to land, no guessing involved. How cute is that once it clicks?
Set Lashes With Mascara
A light coat of mascara over natural and false lashes together helps everything blend into one cohesive line. It also hides any tiny gaps between clusters.
Go easy on the wand since too much product can weigh clusters down and loosen the glue underneath.
- The final blend step
- One light coat is plenty
- Hides gaps like magic
Apply Clusters For Hooded Eyes
Hooded eyes do best with shorter clusters placed closer to the lash root instead of longer dramatic ones that get lost under the lid. Focus most of the length toward the outer corner.
This one small swap keeps lashes visible with your eyes open instead of hiding under the crease the second you blink.
Apply Clusters For Round Eyes
Round eyes tend to look best with clusters concentrated at the outer corner rather than centered in the middle. This creates a subtle cat-eye lift instead of an already-round look getting rounder.
Keep the center clusters shorter to balance the whole shape out. Same rule works for hooded shapes if length feels overwhelming.
Speed Up Application Process
Once the basics feel comfortable, speed comes from prepping everything ahead of time. Trim every cluster you need before opening the glue at all.
Working in one direction without stopping saves a surprising amount of time. A full set can realistically take under fifteen minutes once the routine clicks. Not bad for something that used to take half an hour, right?
Fix Clumpy Glue Application
Clumpy glue usually means too much product went on the band, or the bottle tip is worn down and dispensing unevenly. Try a fresh bottle or wipe the tip clean between uses.
A toothpick works great for scraping off excess before it dries onto the band.
- Fix the clump before it dries
- A toothpick cleans it right up
Use Tools For Steady Hands
Shaky hands are basically universal for beginners, so a good angled tweezer makes a bigger difference than people expect. Resting your elbow on a table also helps more than you’d think.
Some people swear by a jade stone to rest the glue on so the dipping motion stays short and controlled. Same here honestly, it keeps things tidy!
- Tools that steady everything
- Angled tweezers do the heavy lifting
- Elbow support stops the shake
Reapply Fallen Cluster Easily
A fallen cluster is not the end of the world, lol! Dab a little fresh glue on the band, let it tack again. Press it right back where it was!
Keep the fallen piece instead of tossing it since most clusters can be reused two or three times before they wear out.
Prevent Clusters From Lifting
Clusters lift most often when the glue never fully tacked before application, or when too much oil is on the lid. Both are fixable with better prep next round.
Avoid oil-based makeup remover the morning of. Give that tacky stage the full fifteen seconds it needs.
Clean Up Excess Glue
Excess glue along the lash line dries hard and can look a little grayish once it sets. A cotton swab dipped in warm water wipes it away gently before it fully hardens.
Catching it early makes cleanup way easier than trying to pick off dried glue later.
- Clean edges make the difference
- Warm swab lifts it right off
- Do it before it hardens
Get Salon Look At Home
Last but definitely not least, the salon look really just comes down to patience and layering. Thin coats of glue, mixed lengths. A little liner along the base pulls the whole thing together.
No salon appointment, no fifty dollar fee, just a steady hand and a few extra minutes at the mirror. Give it a couple of tries and it starts feeling second nature, haha! Worth every practice run, honestly.
- Salon results, kitchen table prices
- Costs a fraction of a booking
- Gets easier every single try
Just a little note - some of the links on here may be affiliate links, which means I might earn a small commission if you decide to shop through them (at no extra cost to you!). I only post content which I'm truly enthusiastic about and would suggest to others.
And as you know, I seriously love seeing your takes on the looks and ideas on here - that means the world to me! If you recreate something, please share it here in the comments or feel free to send me a pic. I'm always excited to meet y'all! ✨🤍
Xoxo Isabella