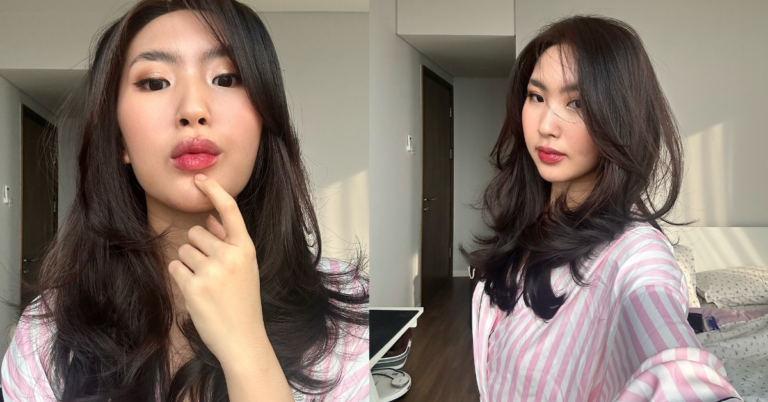
Hey guys, so picture this. It is 2:30 in the morning on a random Tuesday. I should absolutely be sleeping because I have a super early meeting the next day, but what am I doing? I am deep, and I mean deeply immersed, in the black hole of NailTok. Like, scroll after scroll after scroll. My eyes are barely open. And suddenly I realize something. Every single girl on my FYP has the exact same manicure.
I literally sat up in bed and was like, okay wait, I need these right now.
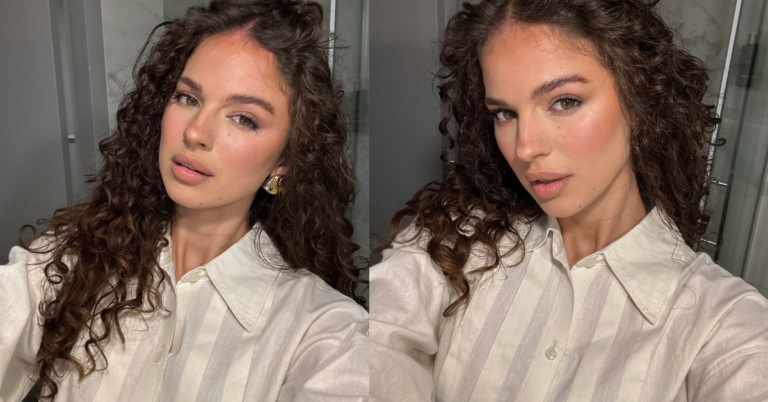
Have you seen them yet? Honestly if you spend more than five minutes on TikTok or Insta these days you definitely know what I am talking about. Deer print nails are literally everywhere right now. And I am completely obsessed. We had the cow print phase, right? And we all lived through the tortoiseshell obsession a couple of years ago. But this? This is different. It is softer. It is sweeter. It gives off this cozy, almost woodland fairy vibe but it is still chic enough to wear to a nice dinner.
You know me, I usually stick to my classic sheer pinks or maybe a dark red if I am feeling spicy. But I saw this trend and I knew me and my nails needed a change immediately. It is just so cute.
What Exactly Is the Deer Print Trend?
Okay, let me break it down for you in case you missed it. Deer print nails are exactly what they sound like, but elevated. Think Bambi, but make it high fashion.
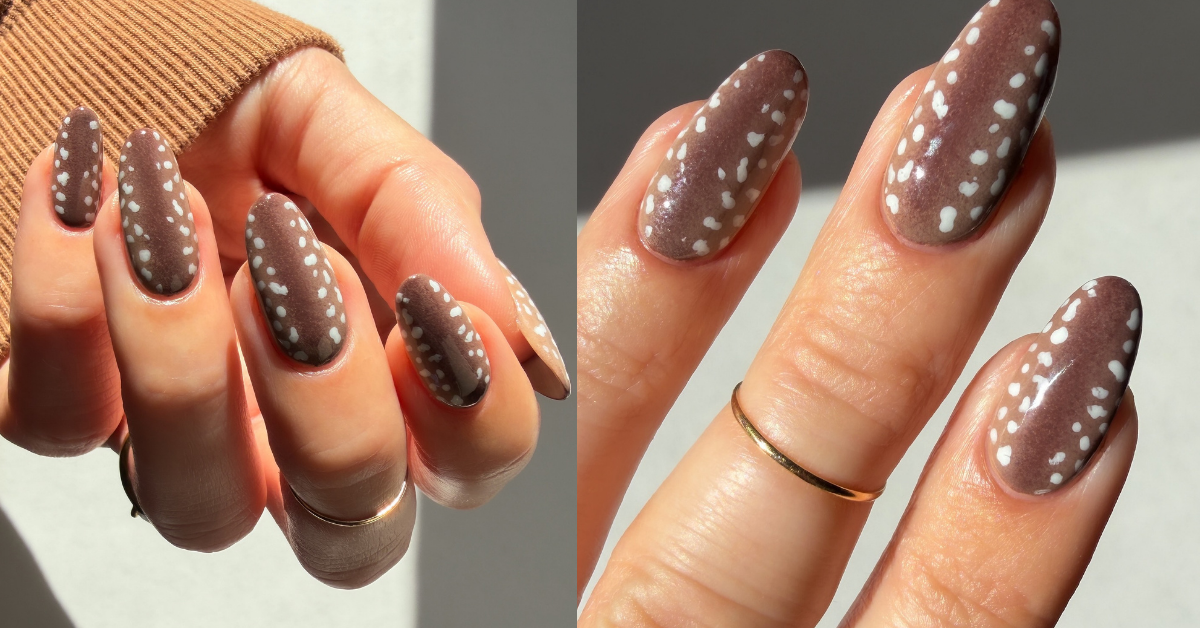
Instead of harsh black and white spots like a cow print, deer print uses beautiful warm browns, soft tans, and little white dots that mimic the spots on a baby deer’s back. The base is usually a really sheer beige or a soft tan, and then they have this darker brown gradient or patches. Finally, you have these delicate, scattered white dots on top. It is honestly so pretty.
The best part about this trend is how versatile it is. You can go all out and do every single finger. Or you can do what I did last week and just do an accent nail or a French tip version. It is just the perfect transition manicure. It looks amazing with cozy oversized sweaters, but it also totally works if you are wearing a little black dress and gold jewelry.
Why You Seriously Need to Try It
Listen, I know nail art can sometimes feel a little intimidating. You might be sitting there thinking, “Anne, I work at a corporate office, I cannot walk in looking like I just came from a petting zoo.” But I promise you, it is so much more subtle than you think.
Let me tell you what happened to me just the other day. I was running late and ran into my local coffee shop to grab an iced matcha. I handed the barista my card, and she literally stopped what she was doing. She just stared at my hand for a second.
She was like, “Oh my gosh, your nails are stunning.” She even called over her coworker to look at them! We literally held up the line for a solid two minutes just talking about the brown tones I used. The guy behind me was definitely annoyed but whatever. It was a total compliment and proved my point. People love this look because it is unique but not loud.
If you want a manicure that gets you compliments but still looks elegant, this is the one. Period.
How to Ask for It at the Salon
If you are a salon girlie, I totally get it. Sometimes it is just nicer to sit back and let a professional do the heavy lifting.
But we have all had that terrifying moment where you show a nail tech a picture, and what you get looks absolutely nothing like it. To avoid that tragedy, here is exactly what you need to tell them to get the perfect deer aesthetic.
- Show them a video, not just a picture: Videos show the depth of the polish way better.
- Ask for an almond or oval shape: Honestly, deer print looks best on a slightly rounded nail. Square can work, but almond gives it that delicate, soft look that matches the pattern perfectly.
- Specify the base color: You want a sheer, milky beige or a soft tan. Do not let them use a stark opaque white or a pink. It needs to look natural and earthy.
- Tell them you want a blooming gel effect: This is the secret sauce! Blooming gel makes the darker brown spots spread out and look fuzzy and soft, rather than looking like harsh polka dots.
- The white dots: Remind them that the white spots should be varying sizes. Some tiny, some a little bigger. If they are all the exact same size, it looks like a cheap sticker.
If your tech knows what they are doing, they will totally slay this.
The Ultimate DIY Deer Print Nails Tutorial
Okay, now for my favorite part. The DIY. I am not gonna lie, I was a little scared to try this myself at first. Me and my left hand do not always cooperate when I am trying to paint my right hand.
I literally have a scar on my sweatpants from dropping a whole bottle of brown polish during a failed tortoiseshell attempt back in 2021. So I had PTSD. But this is actually so much easier than it looks! It is meant to look a little organic and messy, which is perfect for us amateurs.
Here is what you are gonna need:
- A sheer, milky beige polish (Essie’s “Sand Tropez” or something similar works great).
- A medium warm brown polish.
- A bright opaque white polish.
- A top coat (glossy or matte – we will talk about this later).
- A dotting tool. (If you do not have one, just use the end of a bobby pin! Seriously, it works perfectly).
- A little makeup sponge if you want to create an ombre effect.
Step 1: Prep is Everything
Please do not skip this step. Push back your cuticles, file your nails into a nice almond shape, and wipe them down with a little rubbing alcohol to remove any oils. If you skip this, your beautiful deer nails will chip in literally two days and you will be so mad at yourself.
Step 2: The Sheer Base
Paint one or two coats of your sheer beige color. You want it to be slightly see-through but not streaky. Let this dry completely. And I mean completely. Go watch a TikTok or something while you wait.
Step 3: The Brown Patches
This is where it gets fun. Take your brown polish and dab a few random, irregular blobs onto the nail. You do not want perfect circles. Think about the shape of a kidney bean or a weird little cloud. Just place them mainly along the edges of the nail. If you have blooming gel, put a thin layer down before the brown spots so they blur out perfectly. If not, just gently tap the edges of the brown spots with a tiny brush dipped in acetone to blur them out a little bit.
I remember doing this step on my couch last Friday. I was watching a movie and thought I totally messed up the blobs on my thumb. They looked so weird and chunky. But trust the process! Once you add the white dots, it magically comes together.
Step 4: The Little White Dots
Once the brown is mostly dry, take your dotting tool or your trusty bobby pin. Dip it in the white polish. Now, carefully place little white dots overlapping the brown patches and the sheer base. Make some dots tiny, and some a bit larger. Group a couple close together, and leave some totally alone. This is what gives it that realistic animal print vibe.
Step 5: Seal the Deal
Wait for the white dots to dry. If you swipe your top coat on too early, you will streak the white polish everywhere and ruin all your hard work. Once it is safe, apply a thick layer of a good glossy top coat.
And boom. You just saved yourself 60 bucks at the salon.
Ways to Switch It Up
If you want to make the trend your own, there are so many fun ways to play around with it.
The Matte Finish: Okay, I am usually a glossy nail girl forever. But a matte top coat on deer print? It changes the entire game. It makes it look like real suede or leather. It is so ridiculously chic for the colder months.
French Tip Variation: If an entire nail of print is too much for you, just do a classic French manicure, but make the tips deer print instead of white. This is what I am doing for my bestie’s birthday dinner next week. It is so elegant but still shows you are trendy and fun.
Add a little gold: If you are feeling extra fancy, you can use a tiny brush to add a little line of gold foil around the edges of the brown spots. It gives it this gorgeous, expensive vibe.
Just a little note - some of the links on here may be affiliate links, which means I might earn a small commission if you decide to shop through them (at no extra cost to you!). I only post content which I'm truly enthusiastic about and would suggest to others.
And as you know, I seriously love seeing your takes on the looks and ideas on here - that means the world to me! If you recreate something, please share it here in the comments or feel free to send me a pic. I'm always excited to meet y'all! ✨🤍
Xoxo Isabella