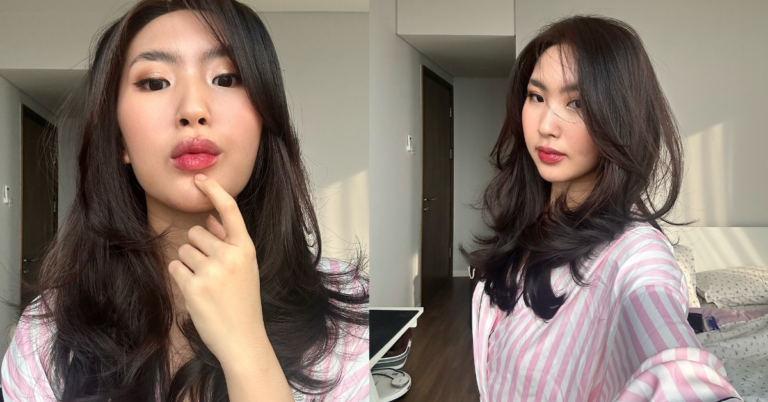
Hi guys, you know that feeling when you look in the mirror before you leave the house and you’re like, “Wow, I look amazing today”? Your outfit is giving everything it’s supposed to give. You feel confident. And then… someone takes a picture of you.
You look at your phone screen and suddenly you’re wondering who that stranger is. Your waist has completely disappeared, the colors look super washed out, and your outfit just looks like a giant, confusing blob. Yeah, I’ve been there way too many times to count.
Me and my best friend actually realized this is a whole science. What looks good in real life, in 3D, does not always translate to a 2D photograph. The camera literally flattens everything. It takes away depth. So if you don’t dress specifically to create that depth back into your look, you end up looking totally different than you do in person. But don’t worry, because over the last couple of years I’ve basically made it my mission to figure this out. I have tested so many different looks, taken thousands of selfies and group shots, and I’ve finally cracked the code.
Today I want to share my absolute favorite outfit formulas for photos. These are my go-to looks that just always work on camera.
Formula 1: The Structured Outerwear + Fitted Base
Okay so here’s the thing. If there is one secret you take away from this whole post, let it be this. Structure is your absolute best friend on camera. Like I said before, cameras flatten you out. If you wear an oversized sweater with flowy pants, you might look super chic and effortless walking down the street. But in a photo? You just look wide and shapeless.
This is where the structured outerwear formula comes in. It’s so simple but it works every single time.
Here is what you do. You take a fitted base layer – like a tight turtleneck, a fitted bodysuit, or just a simple slim tank top. Then, you throw a structured jacket over it. Think a tailored blazer with good shoulders, a stiff leather jacket, or even a structured denim jacket. The contrast between the tight base and the sharp lines of the jacket creates instant framing for your body.
Let me tell you a quick story about this. Last fall, I went on a weekend trip to New York with my sister. I had bought this gorgeous, super expensive chunky knit sweater. It was totally giving cozy fall vibes in the mirror at the hotel. We went out to Central Park, took like fifty pictures in front of the leaves, and when we sat down for lunch to look through them, I literally wanted to cry. I looked like a giant wool marshmallow. There was zero definition. The next day, I switched to a fitted black bodysuit and my favorite oversized blazer. The difference was insane. The blazer gave my shoulders shape, the open front showed the fitted bodysuit which highlighted my waist, and the photos turned out amazing.
So yeah, always try to mix a tight layer with a structured layer. It gives the camera lines to follow.
Formula 2: The 70/30 Proportion Rule
Proportions are everything when you are getting your picture taken. If you cut your body exactly in half, so it’s 50% top and 50% bottom, it visually shortens your legs and makes your torso look awkwardly long. It just confuses the eye.
Instead, you want to aim for the 70/30 rule. This means your outfit is divided into roughly one third and two thirds. The easiest way to do this? High-waisted pants or skirts paired with a cropped or tucked-in top.
- The 30%: This is your top half. A crop top, a tucked-in blouse, or a sweater that ends right at your natural waist.
- The 70%: This is your bottom half. High-waisted denim, tailored trousers, or a midi skirt that flows down.
When you do this, you are tricking the camera into thinking your legs are miles long. It draws the eye up to your natural waist, which is usually the narrowest part of your body. Honestly, ever since I started doing this, I barely ever wear mid-rise jeans for photos anymore. High-waisted is just the way to go if you want to look tall and put-together.
Formula 3: Monochrome, but make it Textured
Monochrome outfits are incredibly chic. Wearing all black, all white, or all of one color creates a long, unbroken vertical line that makes you look super elegant on camera. But there is a huge trap here that so many people fall into.
If you wear all black, and all the fabrics are the exact same flat material – like flat cotton – you will look like a shadow. The camera won’t be able to pick up any details. Your arm will blend into your waist, your legs will blend together, and you lose all your shape.
The secret to nailing a monochrome outfit in photos is texture mixing. You have to mix materials that reflect light differently.
For example, if you want to wear all black, try a chunky knit wool sweater paired with a shiny satin slip skirt and some smooth leather boots. The camera picks up the highlight on the satin, the deep shadows in the chunky knit, and the slight sheen of the leather. Suddenly, your all-black outfit has tons of depth and dimension. You can see exactly where your waist is, where your arms are, and it looks super expensive.
I learned this the hard way at a holiday party two years ago. I wore a flat black cotton long-sleeve dress. It was dark in the room, and when people took flash photos, I just looked like a floating head. Never again! Now I always make sure I throw on a faux fur coat or some shiny accessories if I’m doing a dark monochrome look.
Formula 4: The Neckline Hack (Open it up!)
This is something people rarely talk about, but your neckline makes a massive difference in how your face and jawline look in a photo. When you wear a high, tight crewneck or a really bulky turtleneck, it cuts off your neck. And when your neck is hidden, your face can look a bit rounder or softer on camera than it actually is in person.
If you want to instantly look more snatched in photos, open up your neckline. V-necks, scoop necks, square necks, or sweetheart necklines are so incredibly flattering. They show your collarbones and elongate your neck, which naturally draws the eye up to your face.
If you really want to wear a button-down shirt, just unbutton the top two or three buttons and pull the collar back slightly. It creates a natural V-shape. You feel me? It just opens everything up and gives your face room to breathe. Plus it gives off that cool, effortless vibe we all want anyway.
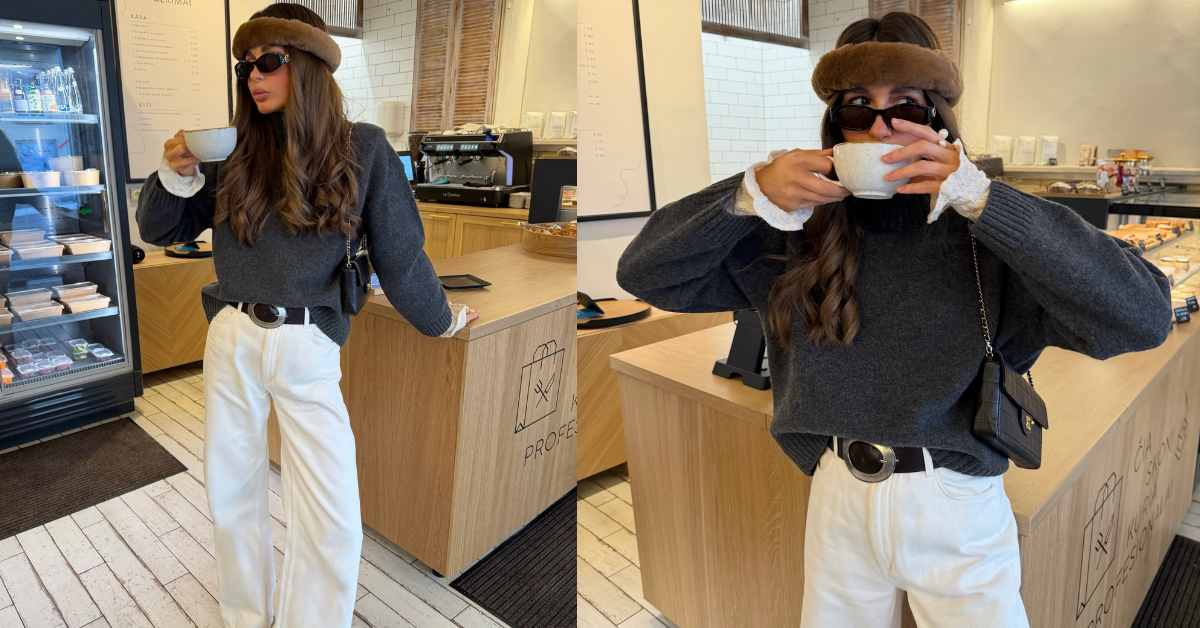
Colors That Love the Camera
Let’s chat about color for a second. Some colors just photograph beautifully, while others are super tricky.
Jewel tones are almost universally flattering on camera. Think emerald green, sapphire blue, ruby red, and deep amethyst. These colors are rich, they don’t wash you out, and they provide great contrast against almost any background. Pastels can be cute, but sometimes in bright sunlight they get blown out and look basically white.
Also, a quick warning about patterns. Try to avoid really tiny, tight stripes or super busy, small houndstooth patterns. Have you ever seen a photo or a video where someone’s shirt seems to be vibrating or glitching? That is called the moiré effect. It happens because the camera’s sensor can’t handle the tight pattern. It totally ruins the photo.
Oh, and one more thing! Please try to avoid wearing solid items that are the exact same color as your skin tone. I’m talking about those beige or flesh-toned dresses that match you perfectly. In person it might look like a cool minimalist moment, but in a quick photo, it can give the illusion that you aren’t wearing anything at all until you zoom in. Just stick to neutrals that are visibly lighter or darker than your complexion to keep that contrast strong!
Accessories: Less is More, but Make it Count
When it comes to accessories for photos, you don’t want to clutter the look. If you have huge earrings, a massive necklace, a chunky belt, and a statement bag, the camera doesn’t know where to focus. It just looks messy.
But having one or two focal points is amazing. I love wearing a slightly chunky gold hoop. Gold reflects light beautifully and brings a literal twinkle near your face. Or, a really cool structured handbag that you can hold to give your hands something to do. That’s another big photo struggle, right? Not knowing what to do with your hands. Holding a bag or a pair of sunglasses instantly solves that problem and makes the photo look more natural.
My absolute favorite trick is popping on a pair of sunglasses. Even if I just wear them on top of my head to push my hair back. It adds volume to my hair and gives the outfit a relaxed, off-duty vibe.
Just a little note - some of the links on here may be affiliate links, which means I might earn a small commission if you decide to shop through them (at no extra cost to you!). I only post content which I'm truly enthusiastic about and would suggest to others.
And as you know, I seriously love seeing your takes on the looks and ideas on here - that means the world to me! If you recreate something, please share it here in the comments or feel free to send me a pic. I'm always excited to meet y'all! ✨🤍
Xoxo Isabella