
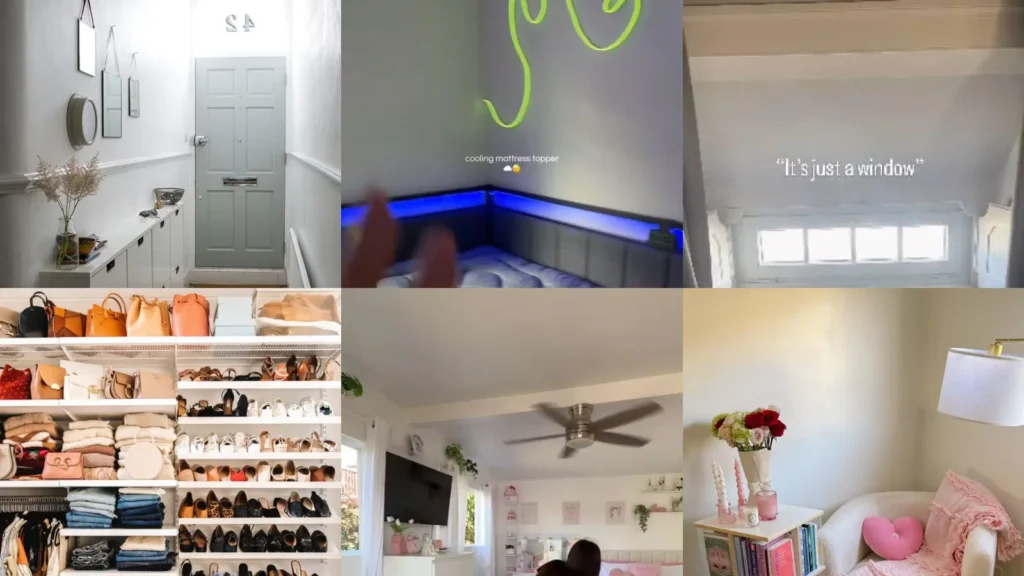

Here’s a tip nobody tells you until it’s too late: the order you film a room in matters way more than the room itself. Start in the wrong spot and even a so pretty space feels flat on camera.
Start smart and a totally everyday bedroom looks like a magazine spread.
That one detail sent me down a rabbit hole of scrolling through hundreds of home content pins, lol! Some ideas were so pretty but basically impossible without a professional crew.
Others just looked messy no matter how you shot them.
So this list only kept the ones that actually work in a real home with regular lighting and zero fancy gear. Every idea here is something you can pull off this weekend with your phone. No studio setup required, I promise!
Some of these are about sequencing a full room tour from door to window. Others are about specific formats, like haul videos or before and after reveals.
There’s a little something for whatever kind of content you’re trying to make.
Use this as a loose checklist rather than a strict rulebook. Mix and match until the flow feels natural for your own space.
Ready to make your rooms look ten times better on camera? Let’s get into it.
ROOM TOUR IDEAS ORDER
Start With Wide Entryway Shot

Every good these starts wide before it gets specific. A slow entryway shot gives viewers their bearings before anything else happens.
Stand in the doorway and pan slowly instead of walking straight in. It sets the tone for the whole video and nobody feels rushed.
- The setup shot everyone skips
- Works with just a phone
- Sets the whole tour’s pace
Bed Or Sofa First Reveal
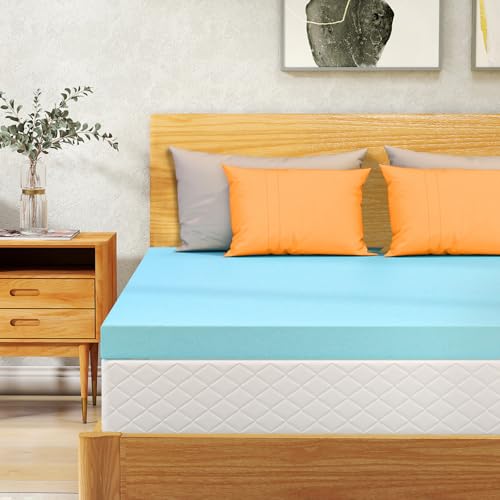
Right after the wide shot, go straight to the bed or the sofa. That’s the piece everyone’s eyes land on first anyway, so give it the spotlight early.
A slow pan across fluffed pillows or a neatly made bed does a lot of heavy lifting. Viewers instantly feel like they know the room.
Read also: 20+ Genius Butter Yellow Decorative Pillows Worth Stealing
Window Nook Tour Moment

Window nooks are basically made for a tour moment. The light does half the styling work for you, honestly.
Add a small chair, a plant or a stack of books near the glass. Film it in the late morning when the light is soft and golden.
This is the shot people screenshot the most, no joke!
Save Closet Reveal For Last

Save the closet for the very last reveal. It works as a payoff, kind of like the big finish of the whole video.
Open the doors slowly instead of all at once. The reveal hits so much harder when it’s the final beat instead of an early one.
Zoom Into Favorite Corner

This one is simple. Zoom slowly into whatever corner you love the most in the room, whether that’s a gallery wall or a little vintage lamp.
Read also: 17+ Stunning Mirror Decor Ideas Trend That Transform Any Room
It gives the tour a personal beat between all the wide shots. Not every second needs to be a full pan!
End On Cozy Reading Spot
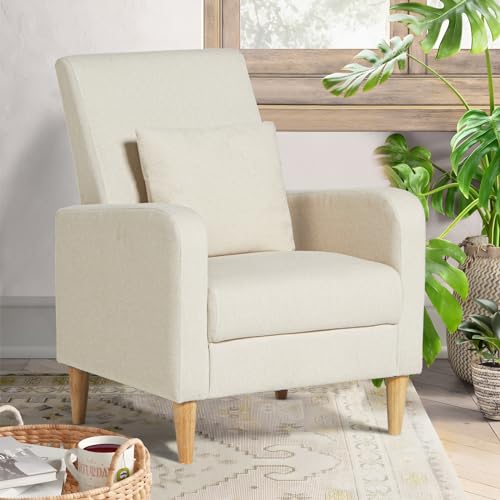
Ending on a cozy reading spot leaves people with a warm, settled feeling. It’s the visual equivalent of a good sigh at the end of a long day.
A blanket draped over the chair arm and one open book does the trick. No need to overthink the styling here.
Ceiling To Floor Pan Shot

A ceiling to floor pan shot makes small rooms feel taller than they actually are. It’s one continuous motion instead of a cut.
Keep the camera steady and move at a slow, even pace. Rushing it ruins the whole effect, so patience matters here.
Tiny Kitchen Tour Highlight

Tiny kitchens deserve just as much screen time as huge ones. Highlighting clever storage or a well organized spice shelf works great for apartment tour post ideas.
Film the counters clear and the cabinets slightly open. It shows off function, not just looks, which people genuinely appreciate.
Balcony Or Patio Reveal

A balcony or patio reveal is such a satisfying way to close out an apartment tour. Even a tiny four foot ledge with two plants counts, lol!
Save it for near the end so the tour ends outdoors on a breezy note. Fresh air, better light, easy win.
Side By Side Empty Room

Nothing sells a before and after quite like a side by side of the totally empty room. It sets a baseline so the transformation actually reads.
Shoot it from a corner that captures as much of the space as possible. This is the shot people compare everything else against.
Same Angle Transformation Photo

This is a favorite for before after room post ideas because the angle stays locked between shots. Mark the floor with a piece of tape so you hit the exact same spot each time.
The furniture and paint color can change completely. The framing staying identical is what makes the transformation actually land.
Messy Versus Styled Comparison

A messy versus styled comparison is oddly one of the most relatable formats out there. Everyone’s room looks like a disaster before company comes over, am I right?
Film the clutter first, laundry pile and all. Then style it properly and shoot the exact same frame.
Unboxing New Decor Finds

Unboxing videos work so well because the anticipation carries the whole thing. This one fits perfectly into decor haul post ideas since viewers love guessing what’s inside before you pull it out.
Keep the box just out of frame at first. A slow reveal beats ripping everything open in two seconds flat.
Thrift Store Haul Display

Thrift finds hit different than store bought decor, honestly. Line everything up on a table before you film so the haul feels like a proper reveal instead of a jumble.
Mention what you paid for each piece. People are always curious how far five dollars actually stretches.
Flat Lay Of New Items
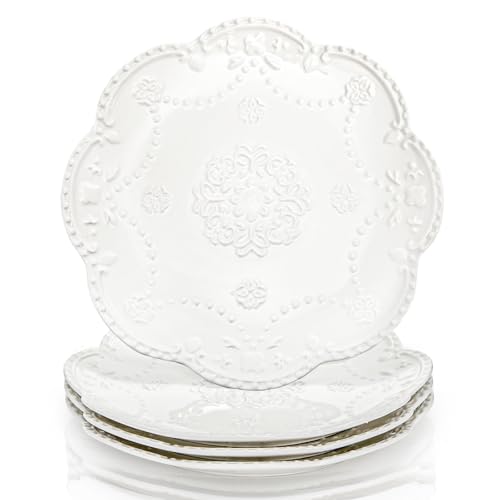
A flat lay of new items is such an easy win when you’re short on time. Arrange everything on a light colored surface and shoot from directly above.
Group by color instead of by category. It photographs so much cleaner and honestly barely takes any extra effort.
Shelf Styling Time Lapse

Shelf styling time lapses are endlessly satisfying to watch. Something about the empty shelf slowly filling up scratches a very specific itch.
Speed up the footage in editing so it moves along quickly. Add a fun sound and suddenly it’s the kind of clip people watch twice.
Coffee Table Styling Steps

Coffee table styling steps break down so nicely into a quick numbered sequence. Tray first, then books, then one small object like a candle or a little bowl.
This format fits right in with styling reel ideas home because each step is its own tiny satisfying beat.
Filming from slightly above works better than a straight side angle.
Quick Pillow Arranging Reel

Last but definitely not least, a quick pillow arranging reel closes things out on such a cozy note. Fluff, fold, lean, done in under fifteen seconds.
It’s a small task but it somehow always gets a big reaction. Not sure why pillows are so satisfying, but here we are, haha!
Just a little note - some of the links on here may be affiliate links, which means I might earn a small commission if you decide to shop through them (at no extra cost to you!). I only post content which I'm truly enthusiastic about and would suggest to others.
And as you know, I seriously love seeing your takes on the looks and ideas on here - that means the world to me! If you recreate something, please share it here in the comments or feel free to send me a pic. I'm always excited to meet y'all! ✨🤍
Xoxo Isabella
Related stories